Convert install.esd to install.wim
If you’re working with a Windows ISO and need an install.wim file (instead of the default install.esd), follow these simple steps:
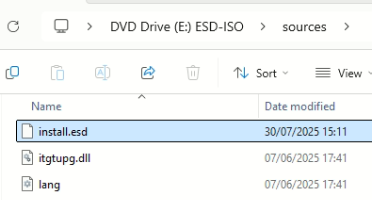
Step 1: Get the install.esd File
1. Mount your Windows ISO - Right click the ISO and choose Mount
|
|
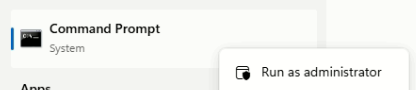
Step 2: Open Command Prompt as Admin
1. Click Start, search for CMD, right click it and choose Run as administrator
2. In the Command Prompt window, type the below command to change your working directory
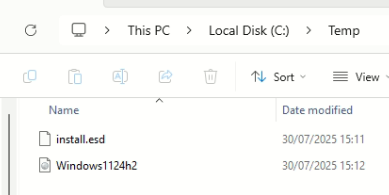
cd C:\Temp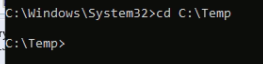
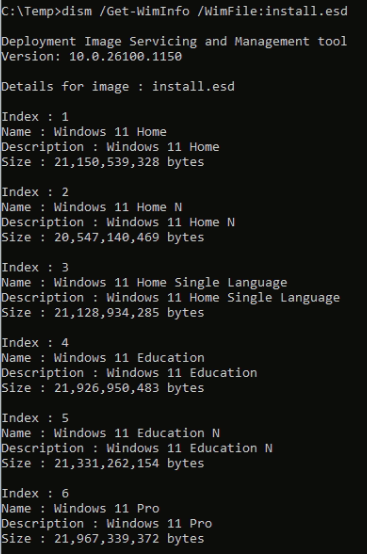
Step 3: List Available Windows Editions in the ISO
Run this command to see what editions of Windows are available in the .esd file
dism /Get-WimInfo /WimFile:install.esdThis will display a list, look for the edition you need (e.g. Windows 11 Pro) and note down the Index number
Step 4: Export to install.wim
Now that you know the Index number of the edition you need, run this command to export the .wim (replace 6 with your index number if different)
dism /export-image /SourceImageFile:install.esd /SourceIndex:6 /DestinationImageFile:install.wim /Compress:max /CheckIntegrity
This will create an install.wim file in the same folder as your install.esd which you can now use for tools like Windows Deployment Services (WDS) or Microsoft Deployment Toolkit (MDT)
No comments to display
No comments to display