Change Network Connection from Public to Private
If you’ve ever connected your Windows PC to a network and found that it’s marked as Public when you really wanted it to be Private, you’re not alone.
Windows labels networks as Public by default for security reasons. A Public network assumes you’re on an open Wi-Fi (like a coffee shop or airport) and locks down sharing and visibility. A Private network, on the other hand, is for trusted places like your home or office—it allows features like file sharing, network discovery, and printer access.
Changing this setting through the Windows interface can take a few clicks. But if you’re comfortable with PowerShell, there’s a super-quick way to do it.
You can use the below command to check what Network Category you currently have.
Get-NetConnectionProfile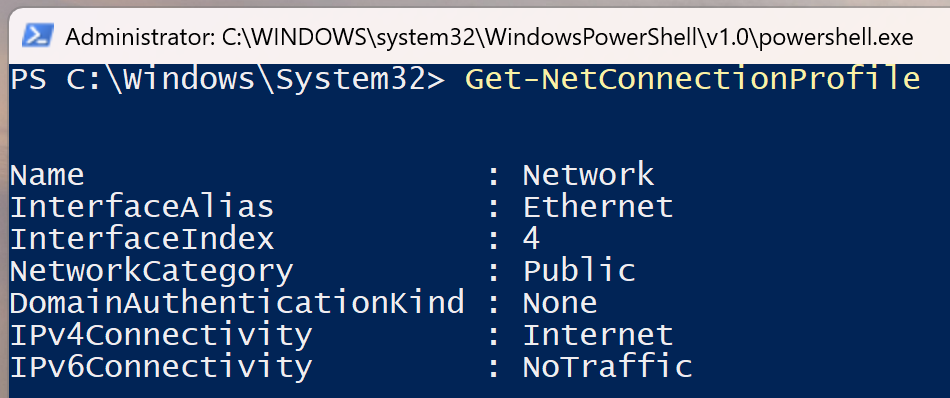
To change Public to Private, Open PowerShell as an administrator and run:
Get-NetConnectionProfile | Set-NetConnectionProfile -NetworkCategory Private
Running the below command again will confirm if this has worked
Get-NetConnectionProfile
And that’s it! Instead of hunting through settings, you can flip your network from Public to Private in a couple of seconds.
No comments to display
No comments to display